
We absolutly love putting together our DIY for theprettyblog. Take a peek below at our post from today. . .
Winter is here and it's in this icy time when you or your loved ones may find yourself sick in bed with the flu. When you are feeling under the weather there is nothing better than knowing someone is thinking of you.
In todays DIY we will show you how to take an ordinary frame off the wall or out of the garage and make it into a loving serving tray. Print out our free printables and follow the instructions below to show you care.

{Or simply use the tray in your home, it will look great on both your coffee table or your dining table. It can also be used as a personalised gift. Place photographs of your family, friends, birthday, wedding etc behind the glass to change the look}.

SHOPPING LIST : 1 x large photo frame, 2 x door or draw handles, 4 x bolts (these usually come with the handles), 1 x electric drill, 1 x long ruler, 1 x pencil, 1 x tin black board paint, 1 x paint roller, 1 x stick of chalk

DIRECTIONS : Serving Tray
- Place your frame down on a good working surface in a landscape position.
- Measure the frame from top to bottom and make a pencil marking in the middle of the frame on both the left and right sides.
- Place your handles over this mark and make sure that the middle of your handle is over the pencil marking you have made.
- Using a pencil lightly draw a circle on the frame around the top and the bottom of the handle .
- Drill a hole through the centre of each of these circular markings that you have made.
- Feed the bolts through the drilled hole from the backside of the frame. The bolts should meet up with the handle on the front side of the frame.
- Screw the bolt into the base of the handles until tight on both the left and right side of the frame.
- Download the free tray printables, print and trim to fit inside your frame behind the glass.

Personalise the message on your tray by turning it into a chalkboard. Simply remove the backing board from the frame and paint it with chalkboard paint, (two coats should do the trick). Once it is dry place it back into the frame without the glass top. Use chalk or a chalkboard pen to scribble and draw out a message. A hot bowl of soup and some fresh bread should help anyone to start feeling just a little bit better.

Add a little sunshine to a colleagues day by printing out our "get better soon cards". Simply place in an envelope and attach to a box of chocolates or a bag of sweeties.
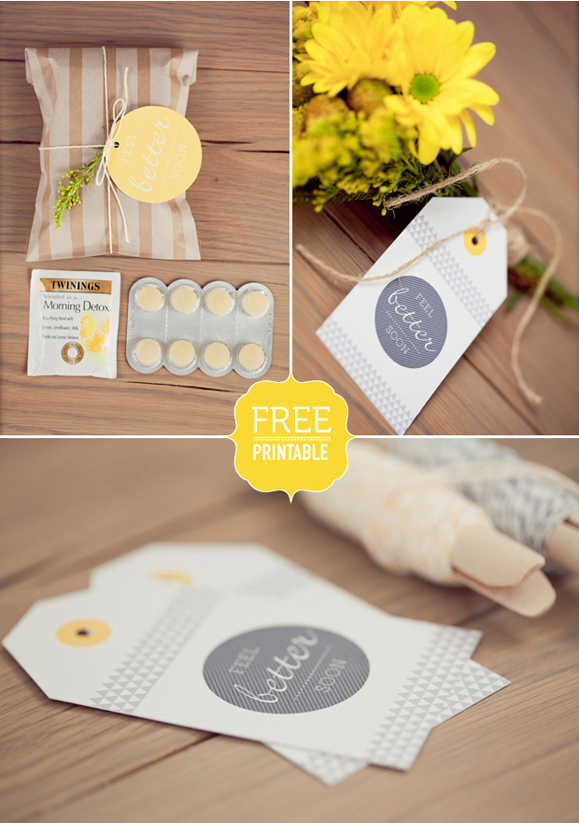
Attach these handy tags to a bunch of flowers or get creative and put a, "dose of get well cheer" pack together. Wrap up a box of strepsils, med-lemon, nasel spray and headache pills.

Once again, thank you so much Blackframe Photography, it was great fun to shoot this DIY with you. All of the imagery in this post was shot by Andre over at Blackframe. Please visit their blog to see more of their beautiful, cute and quirky wedding photography.
Happy Serving Tray making.
love Sam x x x
from the "Elephant factory"
{DOWNLOAD THE TRAY BACKGROUND PRINTABLE HERE}
{DOWNLOAD THE TAGS & CARDS PRINTABLE HERE}
