Elephantshoe “Hot Out The Oven” Free Printable

Today our new "Cookie Pocket Printable" was featured on theprettyblog. Take a look here to see what it was all about. 

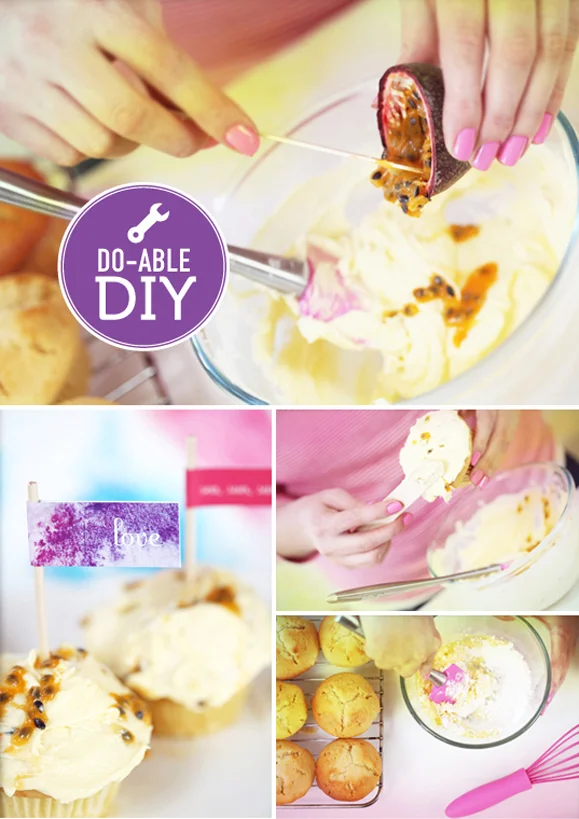
When winter’s chills creep in we all crave some comfort and often a little cheer-me-up! Sometimes the answer to these cravings can be found hiding in the kitchen. Whether it’s a cup of tea, warm cocoa, a hearty vegetable soup or perhaps something sweet and homemade that will warm you up from the inside. We like to get creative and whip up some yummy goodies for our family and friends.

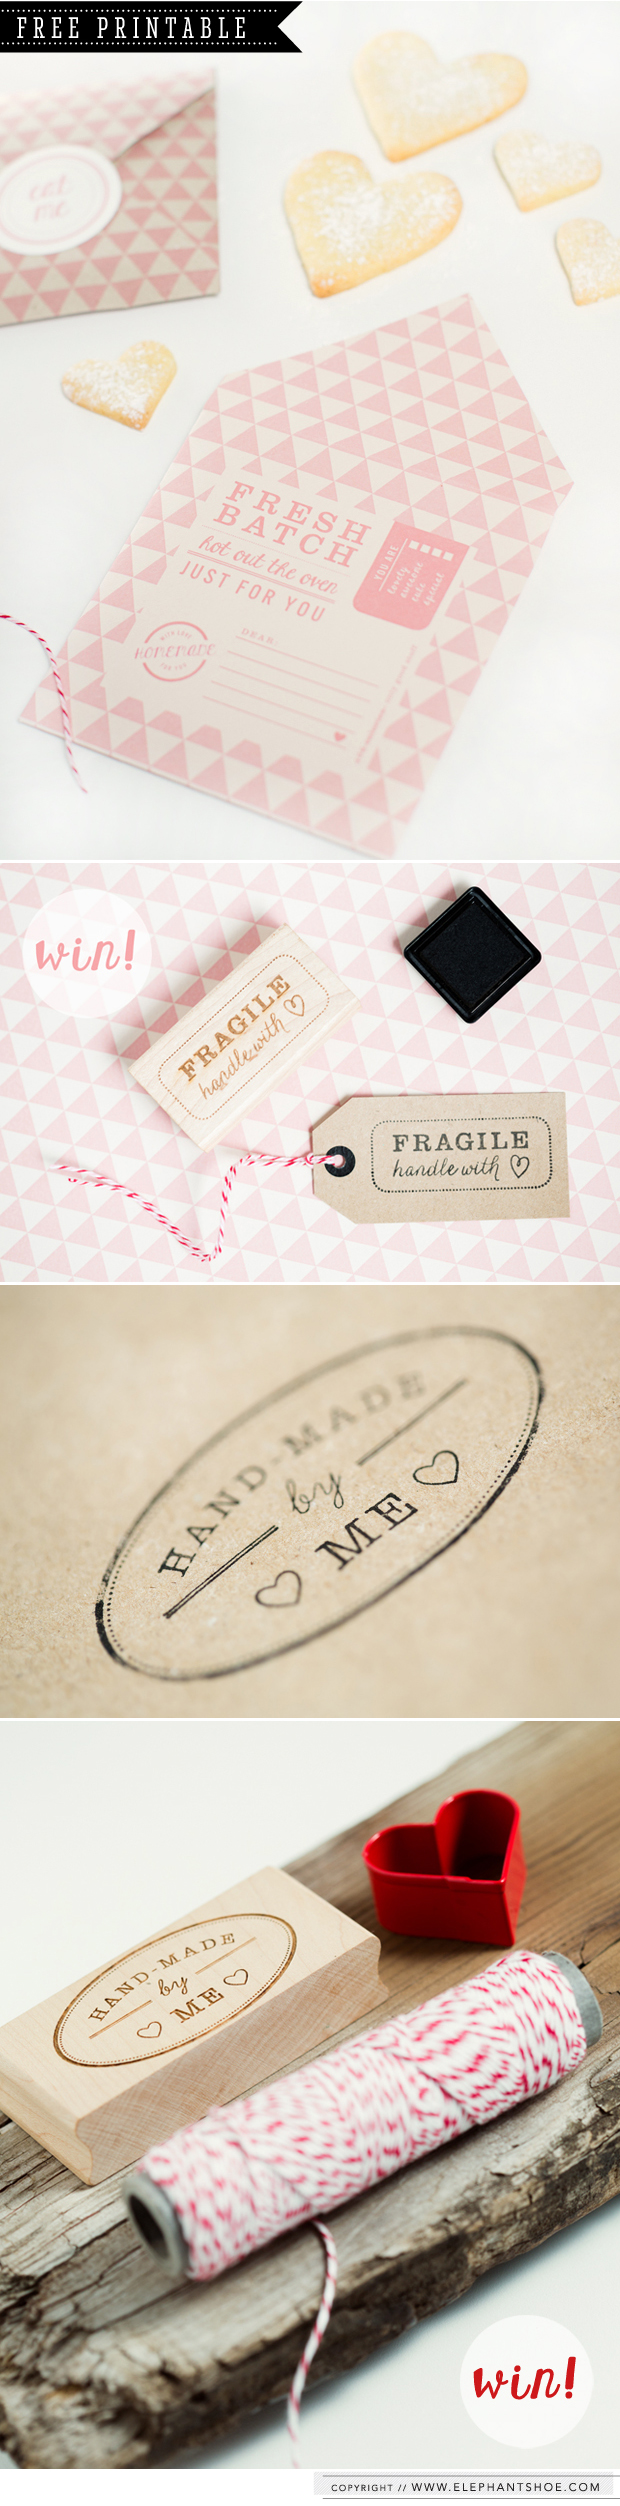
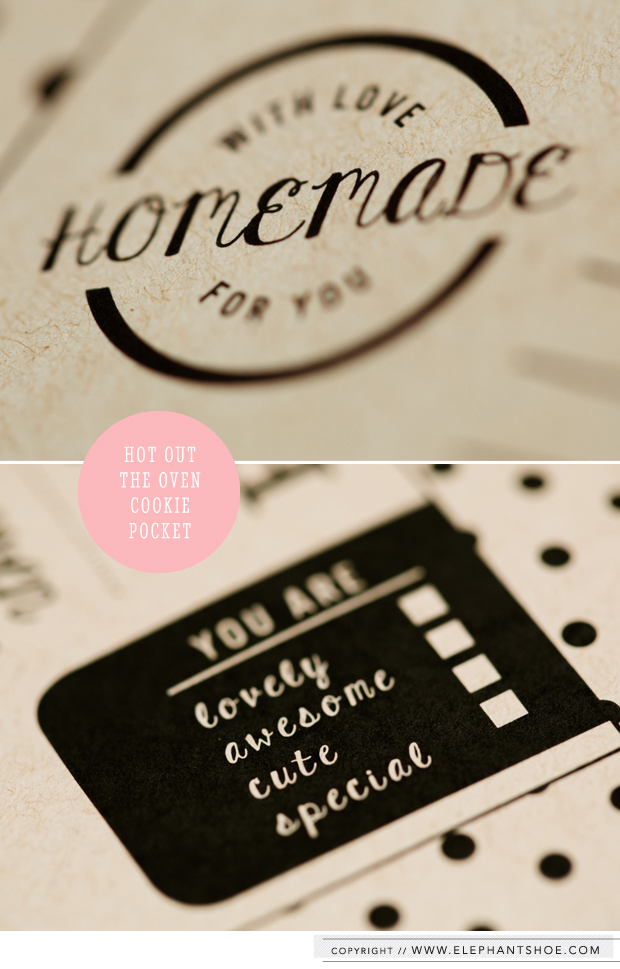
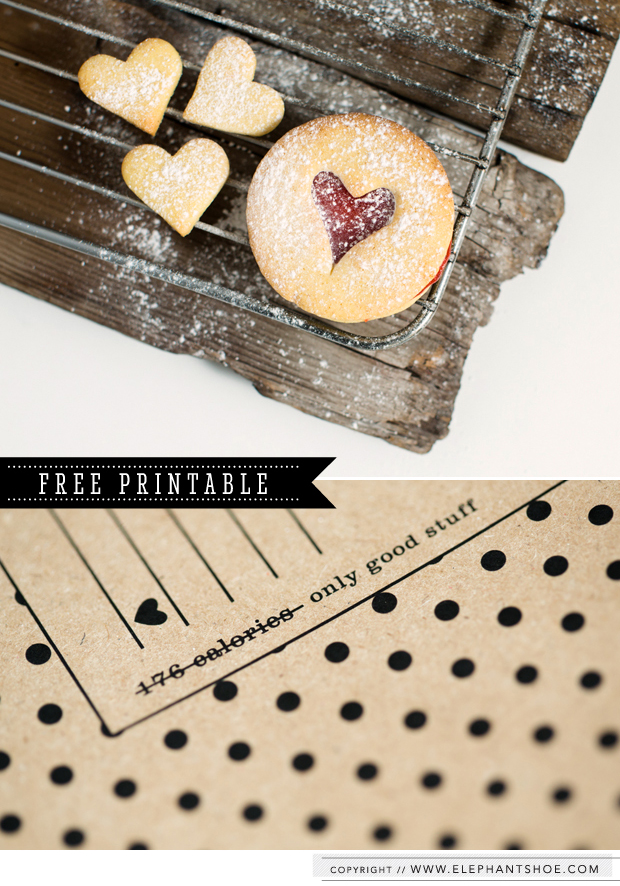
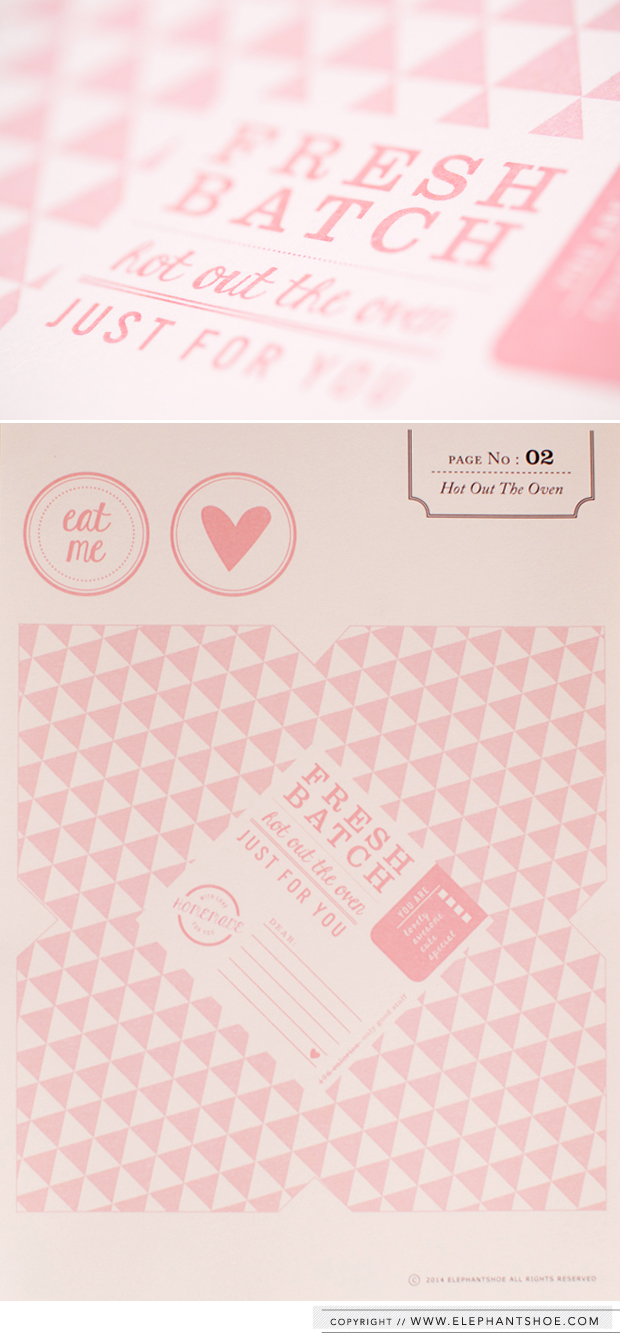
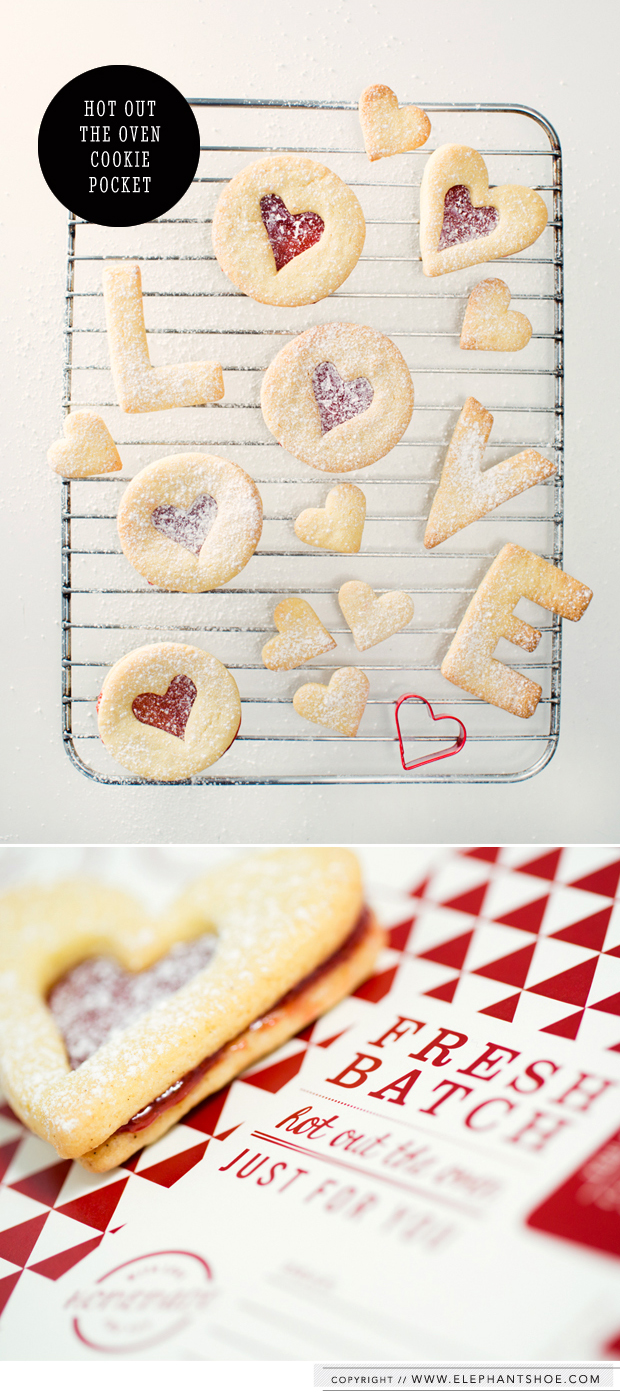
This week we were inspired to make jam heart biscuits to enjoy with our endless cups of tea here in the office, (luckily this tasty recipe can be found over on The Pretty Blog). They are delicious as a small afternoon treat or as naughty midnight snack, but we believe sharing is caring and we wanted our friends to try them too. We’ve designed a nifty little cookie pocket for your home-baked biscuits. Simply download the free printable PDF, select your favourite design from the various patterns and colours and follow the easy steps to fold your biscuit pocket. Pop in your delicious homemade goods, seal it with the printable sticker or a kiss and give it to a dear friend as a little something to say “I care for you”. 

WHAT WILL YOU NEED?

  • A4 Paper Card Stock
  • Wax paper
  • Scissors / Craft Knife & Ruler
  • Spray Glue
  • Double Sided Tape
  • A Fresh Batch of Cookies

DIRECTIONS

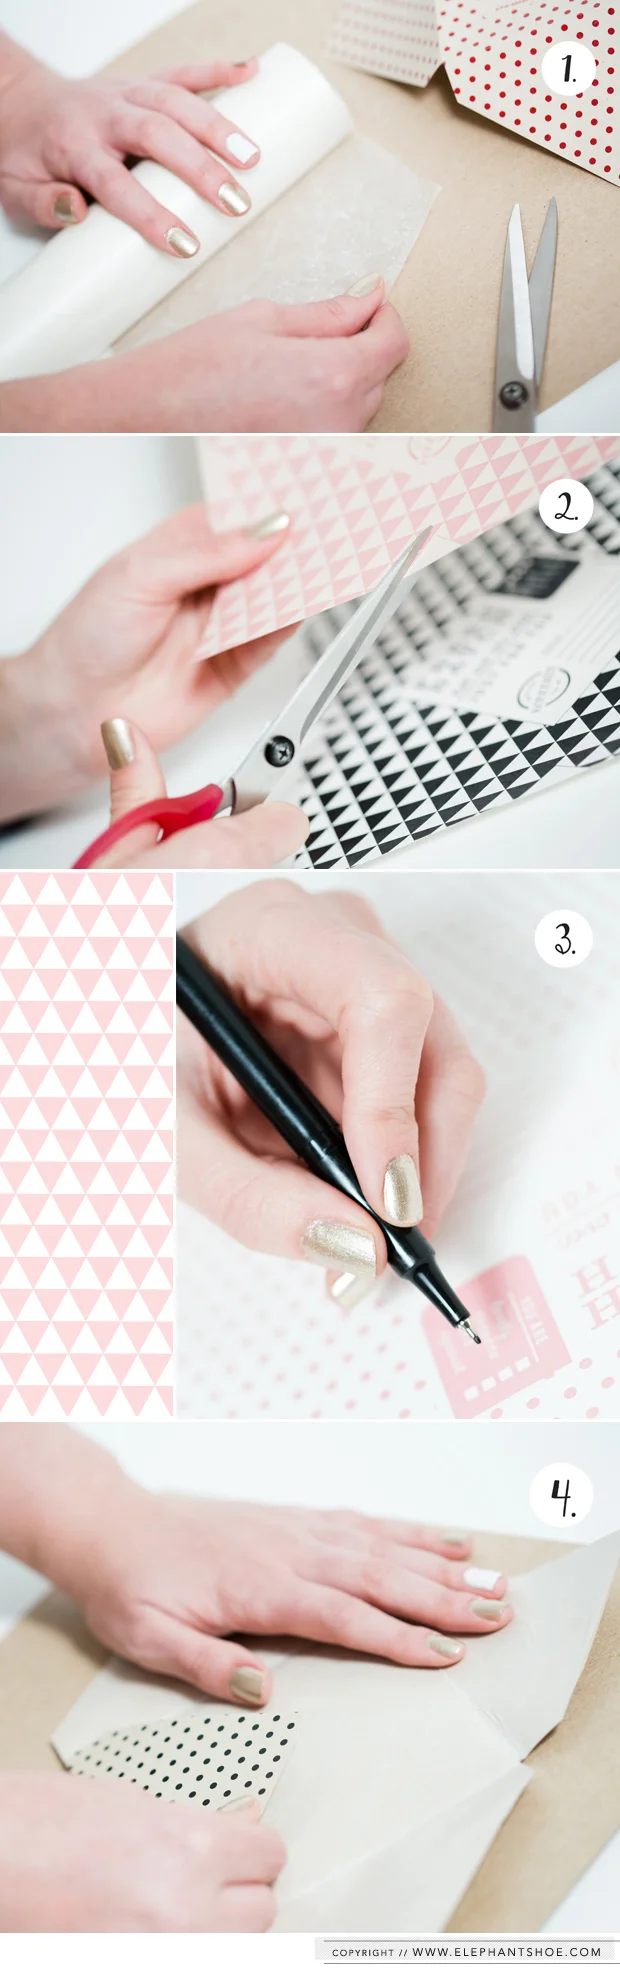
  1. Print the cookie pocket and round sticker design that you love from this PDF on an A4 sheet of paper.
  2. Cut a 20cm x 20cm square of wax paper and glue it on the back of your A4 print with spray glue.
  3. Trimm the cookie pocket with scissors or a craft knife along the outer edge of the print.
  4. Write a message for the lucky person that will be receiving your homemade treats.
  5. Fold in the corners of your biscuit pocket to make an envelope (the wax paper should be inside the pocket).
  6. Glue down or stick  these corners with double sided tape to form a square envelope.
  7. Cut out the round sticker from the print.
  8. Bake a fresh batch of delicious cookies.

Thank you as always to our awesome friends at Blackframe Photography for shooting these images with us. We appreciate all the time that you put into our collaboration DIY projects. Thank you Andre and Maritsa. 

GIVEAWAY! WIN WITH ELEPHANTSHOE AND THE PRETTY BLOG.

We're giving away two maple wooden stamps, one that reads Handmade by Me” and another that reads “Fragile handle with care”. To stand a chance to win one of these two beauties simply keep an eye on theprettyblog social media pages for more information. Enter via either facebook , twitter or instagram, tag @Elephantshoe_ and @theprettyblog, with the tag line #happinessishomemade & share with us your favourite Elephantshoe DIY project that has been featured on The Pretty Blog to date. *terms and conditions apply. Entries only accepted from South African Residents for delivery & shipping reasons.

Entries close 21 July 2014 at 12pm. Winners must correspond within 3 days after they have been contacted via Social Media.

My Brand Spanking New Organised Pantry

It's International Choose Glass Week and we are honouring the beauty, versatility and recyclability of glass by bringing you a DIY project on theprettyblog that you can use in your home to get your pantry in order.

Having a spick-and-span grocery cupboard can be difficult when the ingredients we buy to make our delicious meals are often sold in a great deal of packaging. Thank you to the quaint glass mason jars from Consol paired with our easy to use labels you will be able to store some of your basic food items in a beautiful way.

DIY_ELEPHANTSHOE_MY_PANTRY_01.jpg

These labels are available in black and grey to match every kitchen or you have the option to use them in colour.

DIY_ELEPHANTSHOE_MY_PANTRY_02.jpg

Simply download our "from my pantry" labels at the bottom of this post.

Directions for Labels:

1. Please print page 2-5 of the downloaded document onto a very thick A4 card stock. (Ivory colour preferable). 

2. Trim each circle by cutting along the outer edge. There are 16 labels in total.

3. Spray the back of each circle with spray glue and attach onto the top disc of each mason jar.

4. Fill each glass jar with the corresponding ingredient.

DIY_ELEPHANTSHOE_MY_PANTRY_03.jpg

I find having everything organised in my kitchen gives me a little more energy to get down with some baking. We thought you may feel the same. Here is a cute and different way for you to share your sweet treats with your family and friends instead of serving in your usual cups or bowls. The jars are inexpensive and I love that you can see the layering of ingredients, it somehow makes everything look more scrumptious.

Simply follow the directions below to assemble a yummy Caramel Nougat Cheesecake.

DIY_ELEPHANTSHOE_MY_PANTRY_04.jpg

Caramel and Nougat Cheesecake

Your Shopping List

  • Consol Glass Jars
  • Tennis Biscuits
  • Butter
  • Cream Cheese
  • Icing Sugar
  • Double Cream
  • Vanilla Pod
  • Caramel Treat
  • Nougat

Method

TO MAKE THE BASE : place the tennis biscuits in a plastic bag and crush with a rolling pin. Mix the melted butter and these crumbs in a large bowl until all the crumbs are coated with butter. Press this mixture into the bottom of glass jars to create an even layer. Place these jars in the fridge to chill .

TO MAKE THE FILLING: remove the seeds from the vanilla pod and beat with an electric mixer together with the cream cheese and the  icing sugar until the mixture is smooth. Slowly combine the cream.  Once all the ingredients are combined spoon the mixture  over the biscuit base in each glass jar.

TO MAKE THE TOPPING : spread the caramel treat over the filling and decorate with nougat. 

Directions for Labels:

1. Please print page 3 of the downloaded document onto a very thick A4 card stock. (Ivory colour preferable). 

2. Trim each circle by cutting along the outer edge. There are 3 colour options available.

3. Punch a hole at the top of each circle and attach to each cheesecake jar with twine.

4. Serve to your guests or give as a gift.

The loveliness and charm of these bottles has been captured thanks to Blackframe Photography. Your work is beautiful and it is a privilege to partner with you in putting together this weeks DIY. To view and admire some of their work please take a peek at their blog.

Happy organising.

love Sam 

from the "Elephant factory"

{DOWNLOAD OUR PANTRY LABELS HERE}

 {DOWNLOAD BLANK PANTRY LABELS HERE} - Should you wish to fill in your own product names in the language of your choice.

{DOWNLOAD OUR "SOMETHING YUMMY FROM MY PANTRY LABELS & RECIPE CARD HERE} 


POSTED_IN_FREE_PRINTABLES_RECIPELOVE&YUMMY.jpg

"Spring has Sprung : Yummy recipes, downloads & more"

Sun is shining, the weather is sweet. Make you want to move your dancing feet...

Bob Marley sure summed up the essence of spring eloquently in his music.The feeling of spring is in the air and we are celebrating the joys of the simple things in life like Granadilla Lollies and Passion cupcakes. An easy DIY project to whip together when family and friends are pulling in for a braai and a day of swimming. 

ELEPHANTSHOE_SEPTEMBER_DIY_01.jpg

Keep organised this September, download these free desktop wallpaper calendars 1920 X 1200 pixels from the bottom of this post. Option of 2 designs.

ELEPHANTSHOE_SEPTEMBER_DIY_02.jpg

Turn a regular braai into a festive occasion with these spring inspired tags and flags.

ELEPHANTSHOE_SEPTEMBER_DIY_03.jpg

PASSION JUICE

Shopping List

  • Granadillas
  • Orange Juice
  • Passion Power Liqui Fruit Juice
  • Mint

  1. Mix together the pulp of 5 granadillas, half a litre of orange juice and half a litre of Passion Power Liqui Fruit Juice.

2. Add mint and serve in a long glass with plenty of ice and a straw.

ELEPHANTSHOE_SEPTEMBER_DIY_04.jpg

GRANADILLA LOLLIES TO MAKE YOU JOLLY

 Shopping List

  • Ice Cube Trays
  • Wooden Craft Sticks
  • Granadillas
  • Passion Power Liqui Fruit Juice
  • Mango

1. Dice 1 mango (or your choice of fruit, peaches are also good) into small squares.

2. Mix the pulp of 10 Granadillas, half a litre of Passion Power Liqui Fruit Juice and diced mango in a Jug

3. Pour this mixture into your ice cube trays and place in the freezer for aprox 2-3 hours.

4. Cut your craft sticks in half and pop one into each ice cube square once the mixture has begun freezing.

5. Leave overnight. 

6. Enjoy while sitting in the swimming pool.

ELEPHANTSHOE_SEPTEMBER_DIY_05.jpg

VANILLA OR PASSION CUPCAKES

Shopping List

  • Butter
  • Sugar
  • Eggs
  • Cake Flour
  • Baking Powder
  • Salt
  • Milk
  • Vanilla Essence
  • Spray and Cook
  • Granadillas
  • Icing Sugar

1. Cream together 250 grams of butter plus 1 and a half cups of sugar.

2. Add 4 eggs, one at a time, beating well.

3. Sift and add 3 cups of flour, 3 teaspoons of baking powder and a pinch of salt.

4. add 1 and 1 quarter cups of milk and 1 teaspoon of vanilla essence.

5. Beat very well.

6. Optional : Add the pulp of 2 granadillas, 

7. Spoon into cupcake cups/muffin tray.

8. Bake at 180 degrees celsius for aprox 10-12 minutes or until pale brown.

9. Allow to cool on a tray.

For the icing

1. Cream together 2 tablespoons of soft butter with aprox 2 cups of icing sugar.

2. Ad the pulp of 2 granadillas.


DIRECTIONS

PASSION CUPCAKE FLAGS

1. Please print page 2 of this document onto a very thick A4 card stock. (White colour preferable). 

2. Cut out the flags along the outlines.

3. Apply spray glue or double sided tape to the back side of each flag.

4. Fold in half over the top of a short wooden stick.

PASSION JUICE TAGS AND STRAW FLAGS

1. Please print page 3 of this document onto a very thick A4 card stock. (White colour preferable). 

2. Cut out the tags along the outlines.

3. Punch a single hole at the top of each tag and use plenty of ribbon and twine to attach to your glass jug.

LOLLYS TO MAKE YOU JOLLY TAGS

1. Please print page 4 of this document onto a very thick A4 card stock. (White colour preferable). 

2. Cut out the flags along the outlines.

3. Apply spray glue or double sided tape to the back side of each flag.

4. Fold in half over the top of a short wooden stick.

If you are feeling light, happy and ready to peel off your winter layers after viewing the photos on our post it's all thanks to Blackframe Photography. They have some serious talent, please take a peek at their blog.

Thank you to the pretty blog! Can't wait to see your new site. 

Happy sunbathing.

love Sam 

from the "Elephant factory"

{DOWNLOADTHE PRINTABLE FILE HERE}

{DOWNLOAD THE ORANGE WALLPAPER HERE} 

{DOWNLOAD THE PURPLE WALLPAPER HERE}  


POSTED_IN_FREE_PRINTABLES_RECIPELOVE&YUMMY.jpg